How to change the resources of cloud servers using Tivoli Service Automation Manager
In order to modify the resources of a Cloud server, you need to do the following:
In this example we will add disk space to an AIX cloud server.
Login into the Tivoli Service Automation Manager.
Once you are logged in, in “My projects”, select “Manage Servers…”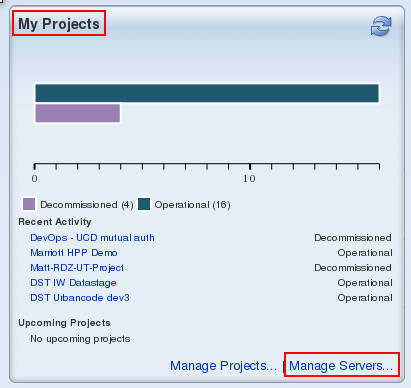
Search for the hostname of the desired server and select it.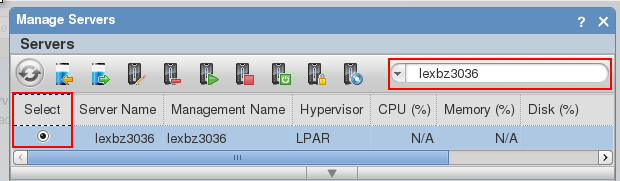
Click on the “Modify Server Resources” button.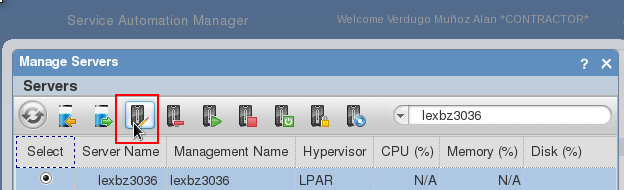
Click on the Edit button.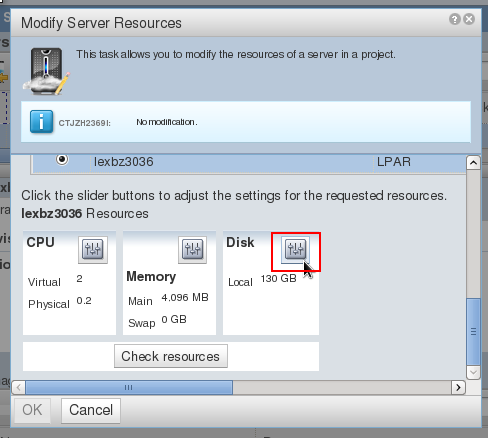
In this case we will add more space to the disk. Simply specify the desired total amount and click OK.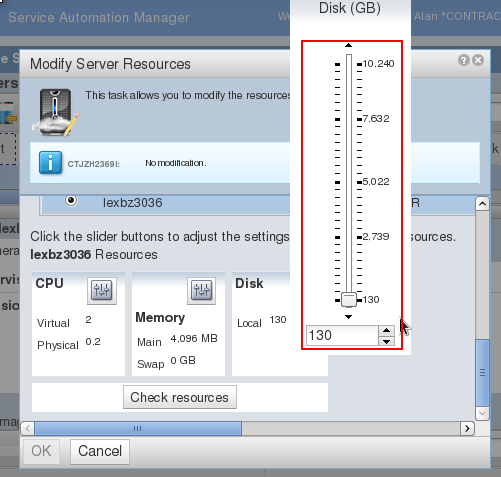
Once your request has been placed, it will be resolved after a few minutes. You can check its status on the “My Requests” part of the home page. You will also get an email notification.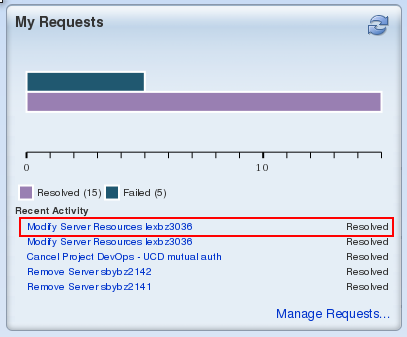
After that, a couple of commands need to be run in the target server in order to get the changes applied.
Run:
cfgmgr
chvg -g rootvg
With that, you should be able to see the new available space in the server with lsvg rootvg.
In AIX, you can assign new space to a file system using the chfs command, like this:
Change file system size:
chfs -a size=[-/+]N[GM] [/filesystem]
G=Gigabytes
M=Megabytes
Example:
chfs -a size=+200M /dev/fslv02
Filesystem size changed to 1835008